Summer is almost here!
We are counting down the last few days of school over here, and I am not sure who is more anxious for summer. I am so ready to sleep in a little. Getting up before 6 to make breakfast and pack lunches is getting old. Sunshine and lazy mornings are calling my name.
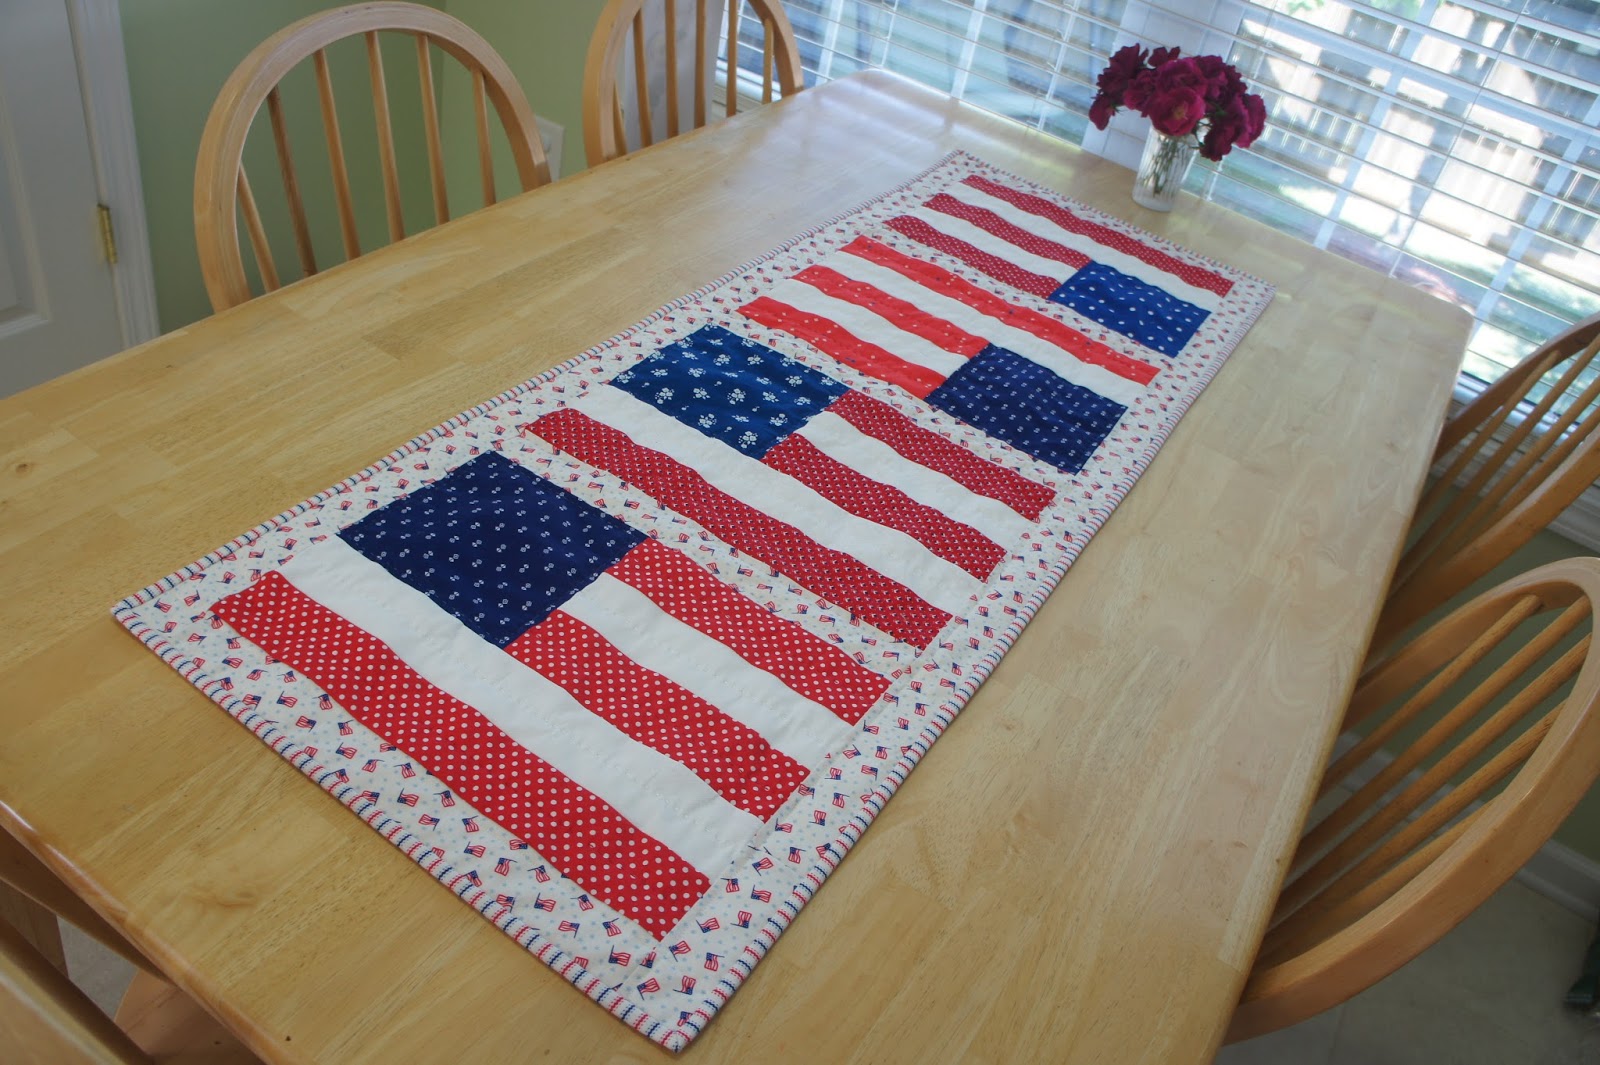
To celebrate, I have made a happy little table runner combining some of my favorite things; patchwork, scrappy fabrics and hand quilting. Yay!
This little runner finishes at 17 1/2 x 47 1/2 inches. It is based on a fabulous vintage quilt I pinned years ago on Pinterest.

That quilt has been on my mind ever since. I'm still really hoping to make an entire quilt of patchwork flags, but in the meantime I am going to enjoy this runner.
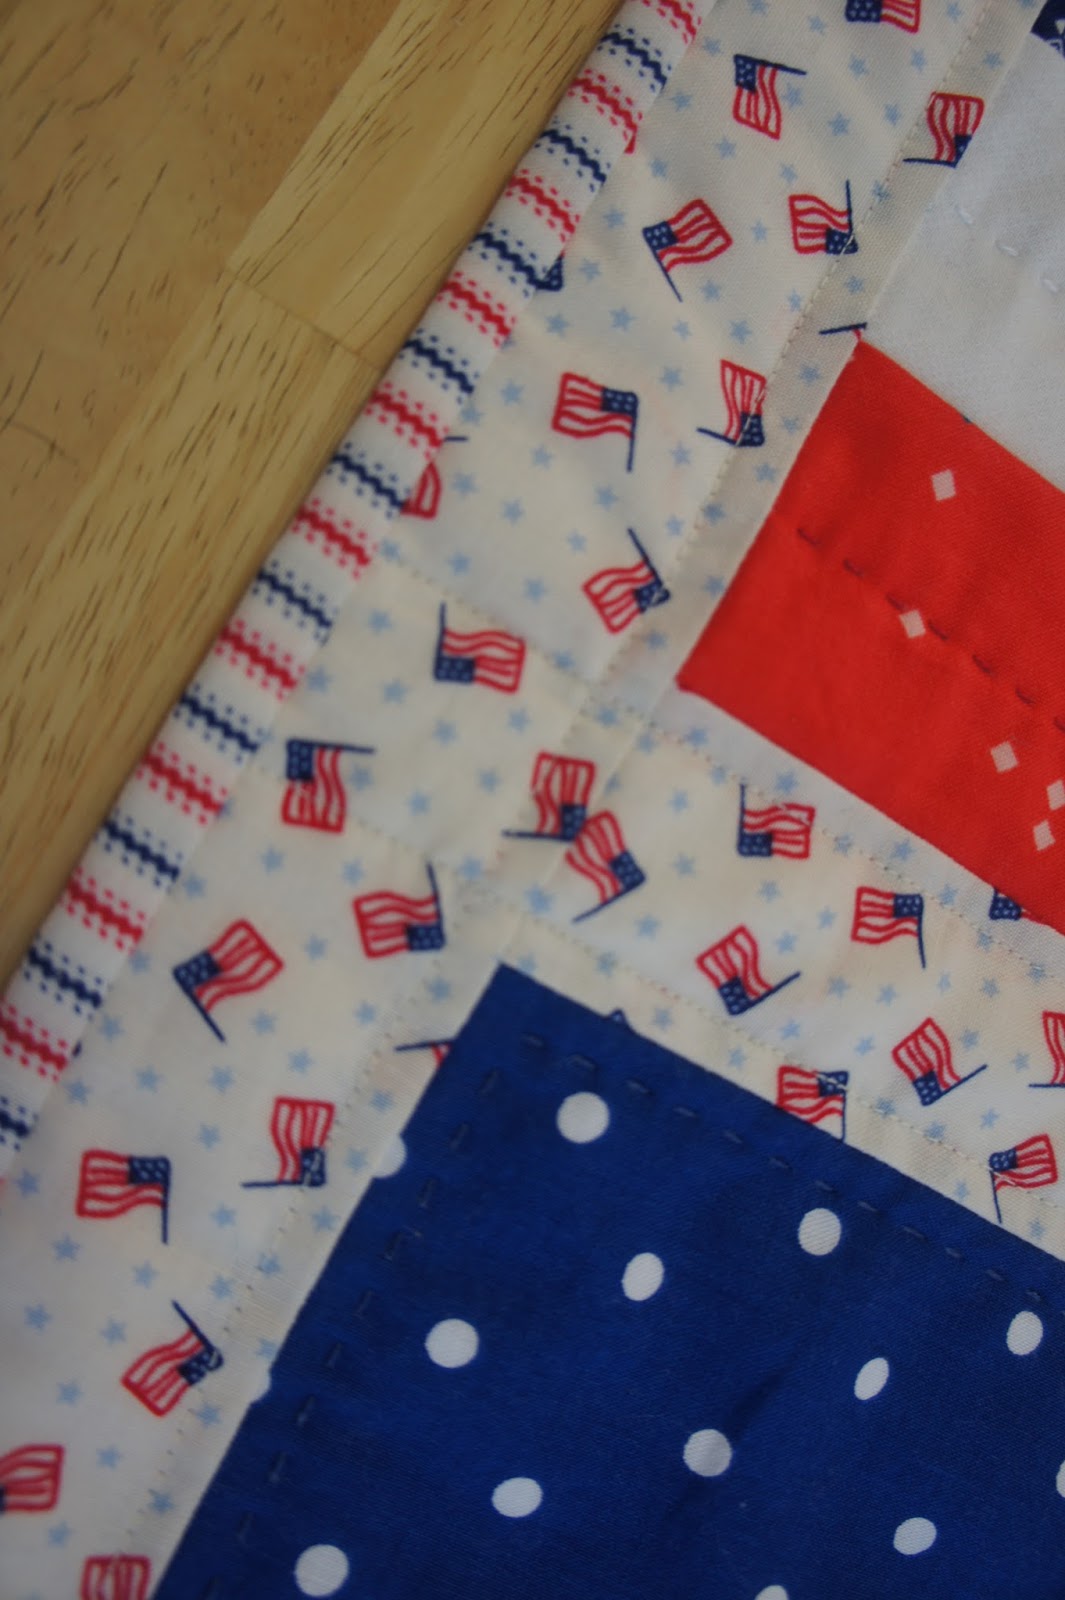
I used both machine quilting (around the flags) and big-stitch hand quilting (inside the flags) and just love the character the combination gives.
Here is a close up of a single flag.
I just love a striped binding.
If you would like to make your own version, here is a quick tutorial:
Fabric needed:
Blue: total of ¼ yard
Red: total of 1/3 yard
White: total of ¼ yard
Sashing: 1/3 yard
Backing: 1 ½ yards (If you want one single cut)
Binding: 1/3 yard
1.
For each flag cut:
·
(1) 6 ½ inch square of blue
·
(2) 2 ½ x 8 ½ inch red
·
(1) 2 ½ x 14 ½ inch red
·
(1) 2 ½ x 8 ½ inch white
·
(1) 2 ½ x 14 ½ inch white
2. Sew together according to diagram. Make 4.
3. From sashing material cut five 2 x 14 ½
inch strips.
Sew them to flags as seen in diagram.
4. For outside borders, sew three 2 inch x
WOF strips together end to end.
Cut them into two pieces 2 x 47 ½ inch
strips.
Sew to either side of the
table runner.
5. Add a backing, quilt and bind.
6. Enjoy!!
If you decide to make your own version, please let me know! I'd love to see what you make. You can tag me on instagram @tracysbitsnpieces
Thanks for stopping by!!
Tracy
Linking up to
Sew Fresh Quilts and
She Can Quilt.