Pages

Wednesday, December 30, 2015

My Very First Quilt

I'm back!

I hope you all had a fantastic holiday season. Mine was filled with craft fair sewing, travel, get-togethers, family, cooking, playing and some much needed rest.

Very little selfish sewing has happened which explains my absence from the blog world, but I'm ready to jump back in .

While hanging with quilty friends over the holidays the topic of our first quilts came up some how and I described how horrible my first quilt was.  I went right home and dug it up and yep, it was put together as badly as I remembered it.  But, before I share it with you let me set the stage...

It is 1991, and I am a freshman at the University of Florida.  I have a stack of high school t-shirts that I don't want to wear anymore but definitely do not want to get rid of.  I had seen an ad in the back of a Seventeen magazine for a company that would turn your old shirts into a quilt and LOVED the idea.  I of course had no money being 18 and a college student.  So, I decided to make it myself.

 I went to a local sewing and vacuum shop and bought an old, green,  abandoned machine for $40, the cost of its repairs. Then bought some royal blue broadcloth fabric to sash the blocks I planned to cut from the shirts, and of course a bag of polyester batting.

Now, I had NO sewing experience AT ALL!  Remember this is before the internet.  There is no google, pinterest, instagram, no blogs or online tutorials.  It never donned on me to check out a book from the library or take a class, I just drew a plan and got to work.

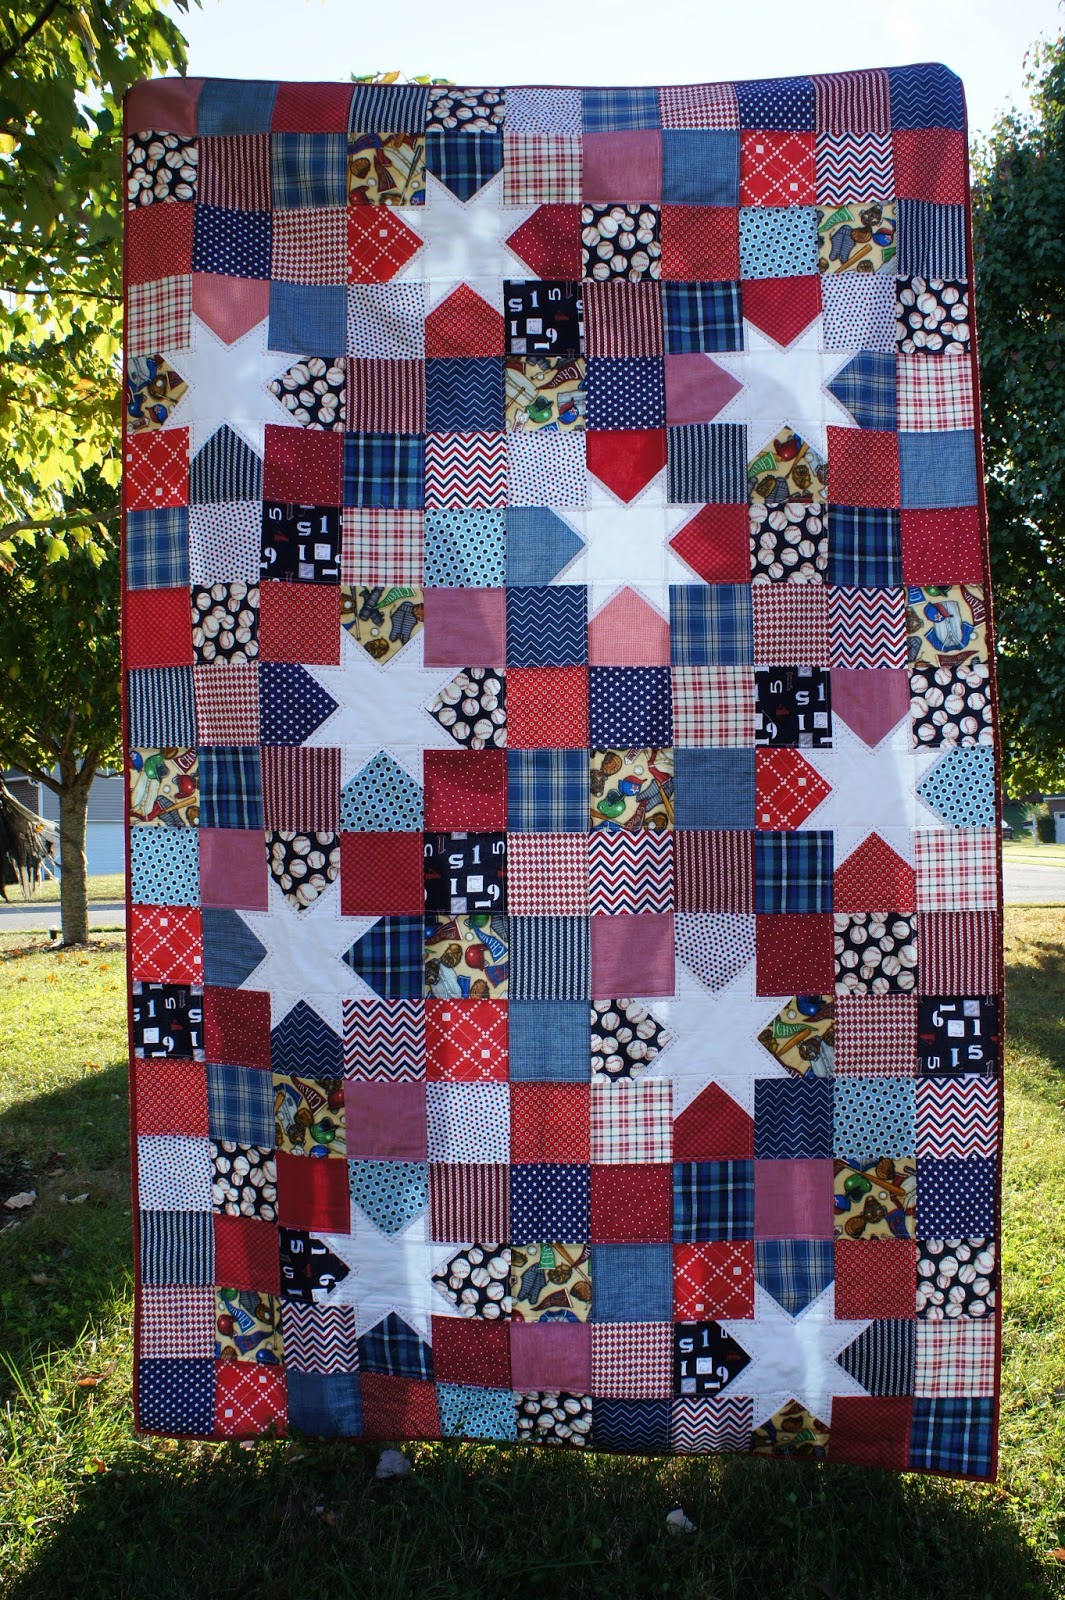
Here it is in all of its glory.


It is exactly what I thought a quilt was, squares separated by sashing and hand quilted in the ditch.

It was all measured with a measuring tape, marked with pencil, and cut at my table with scissors.  I had no idea that a rotary cutter or big acrylic rulers existed.

After I finished the top, I cut a backing the same exact size (it wasn't, I ended up short and had to stitch in an extra inch on one side :)).  I sewed it up on 3 sides right sides together, like a pillowcase, and then turned it right sides out. And are you ready for this, I then cut the batting to the same size and fed it into my "pillowcase" trying to get the batting all the way to the corners.  LOL!!

As a result the corners are not quite filled in.  Check out this corner.  Some sad empty fabric right there.


To close it up, I whipstitched the ENTIRE top.  I must have used an entire spool of thread.  Clearly I did not yet know how to make an invisible stitch.


The only quilting I had seen was hand quilting in the ditch, so that is exactly what I did.


I did this laid out on the living room floor of our apartment with no hoop.  And you can see from the back that there are all kinds of puckers and giant knots.  I had no idea that you could bury a knot.


Big-stitch quilting before it was cool  Ha!  I was such a trend setter.

And clearly my choice of fabric left much to be desired.  I mean you can see straight through that fabric and polyester.


And it looks like I must have run short on that blue fabric and had to return for some more because it looks like I bought 2 different shades.


With all of its obvious flaws, I loved this quilt and was so very proud of it.  I used it all through college.  AND, I was hooked on quilting.  I didn't start another quilt until my junior year, but when I did, I checked out books from the library and read all I could.  Then I took a couple of classes. As I was introduced to new tools and techniques, this quilt got tucked away because suddenly all I could see anymore were its flaws.  But, now I can see past all of the glaring flaws, and again love this quilt that started me on my quilting journey.

I shared it with my kids and reminded them that, "The expert in anything was once a beginner".

Speaking of beginners, I am still a beginning blogger.  I wish I knew how to add the linky ability at the end of this blog.  I would love to hear your stories and see all of your first quilts too!!

Join me on Instagram @tracysbitsnpieces and use the #thefirstquiltievermade to share your first quilt!

Thanks for stopping by!

Tracy

Friday, November 13, 2015

Christmas Craft Fair Time

Well, there hasn't been much quilting going on over here this week.

But don't think I haven't been productive.  I've been sewing away for some upcoming craft fairs.

Tooth Fairy pillows, burpcloths and dresses, Oh my!


Whew!

I'm taking a break today to do something for me, and then it is right back to it.  One more show to go.

Thanks for stopping by!

Tracy

Wednesday, November 4, 2015

A Long Distance Quilt Along

I come from a family of quilters and crafters.  They work with wood, make clothes, knit, crochet, make pottery and of course quilt.  They are amazing and partially why I love to create.  Unfortunately for me they are not close by, so we mostly share pictures long distace.

So, when my Aunt asked me to join her, my grandmother and their friends in a quilt along I just had to say yes.  Even though I can't meet with them in person each week, they text me pictures of their blocks and I send back pictures of mine.

Here is the book they chose to use for thier project.


This is not a book I would have chosen on my own.  It is older and the blocks don't actually have any instructions.  They have full sized outlines of each block so I think you are meant to make your own templates.

But, just look at this inscription...


I am all in!  How I wish they were closer.

First, I found some color inspiration on pinterest and printed it out.


Then, I headed to my stash and pulled lots of pretty fabrics that matched my inspiration picture.


Then, I got to work.  They were already a few weeks in, but I spent an afternoon getting caught up.

Here are the blocks we've done so far.  They finish at 9 inches. Remember, there are no instructions.  Some were easy to measure and rotary cut.  One I had to make a template for and another I paper pieced.

This first one had small, skinny pieces but it was easy to measure and cut.


This one I had to make templates.


The stripes on this one were easy, but I had to do a little quilty math to figure out those stars.  I used the sew and flip method for the points.


This is the one I paper-pieced.  I'm sure there is a way to do the math, but my brain was not having it, so I copied the page to scale and paper pieced the center.


This was another straight forward rotary cutting pattern.
I did have to play a little with the colors to avoid seeing arrows in the design.  For some reason, I just didn't want those arrows.


Another easy rotary cutting pattern.


Now, this one was a little tricky.  I thought I was doing great with my measurements.  And I even decided to simplify the bottom row.  There are just too many unnecessary seams in the drawing.  But when I finished my block was 1/4 inch too short.  Hmm... I couldn't figure out what I did wrong, so I just took the bottom layer off and redid it 1/4 inch taller.  Perfect.


Another one with simple measuring and cutting.


More simple quilty math - this has been really good practice for all those quilty equations.


And finally, this week's block...


At first glance, it looks a bit overwhelming.  But, as soon as you see it as a 9 patch, it looks much easier.


The hardest part was keeping all of those different fabrics straight.


I even found a few ways to get rid of some seams.  I missed a few opportunities.  Oh well, learning experience.

I am so enjoying this!  Stretching my quilty brain to problem solve, seeing everyone's completed blocks and breathing life into some of these older blocks with fresh colors has been so fun.

Thank you for stopping by!

Tracy

Wednesday, October 28, 2015

Dog Gone Cute Quilt

I am so excited to share my Dog Gone Cute Quilt with you all today! 

Thank you Lorna for sharing this fantastic pattern with us!  If you have not yet checked out this pattern, you are missing out.  Like all of her patterns, it is well written and easy to follow and piece. 

I chose to do the large dog blocks so I could have a nice sized lap quilt for my youngest dog-lover.


I am so pleased with how it turned out.

I started by making blocks based on our own fur babies.  Here is Doctor's block:


I altered the pattern just a little to make the center stripe skinny just like Doctor's fur. 

Can you see the tecture in the background fabric?  It is a denim linen.  The color and feel is amazing.


Next up was Captain's block:


Such a sweet baby.  I shortened the stripe on this one to match Captain's color.


Then we have a block to remember our sweet Nala, who passed away 2 summers ago.  We miss her so much.  My youngest was so excited to have her included.


I pulled the rest of my fabrics in "realistic dog colors" as requested by the youngest. 


It was so much fun to play around with all of the different variations of the patterns.

And check out the quilting:


Can you see it?  Swirls with hidden dog bones.  How perfect is that!

I had so much fun with this pattern.  Check out what some of the other bloggers have been doing with Lorna's pattern.  Below are some of the other blogs sharing today.

Abigail – Cut & Alter
Magdalena – i love neutrals
Jenn – (A)Quarter Inch from the Edge
Anne – Batiks by the Bay
Susie – Susie’s Sunroom
Tracy – Tracy’s Bits N Pieces

Thanks for stopping by!

Tracy

Friday, October 23, 2015

Friday Finish X 3

I have 3 finishes this week.  Woo Hoo!

First up, Evan's quilt.


It finished up at 50 x 80.  Perfect for a big boy bunkbed.


My favorite part is the big-stitch quilting in the stars.  I wanted to mimic the look of the red stitiching on baseballs.  Super cute and adds a nice feel to the quilt.


I backed it with a simple tone on tone blue and bound it with a scrappy red binding.


Here is a detail of the stitching on the back.  I hope Evan loves it and enjoys it for years!


Next up is a comfort quilt made from the scraps of Evan's quilt.


I had about a 1/4 yard each of the two baseball prints left when I was all done.  Rather than let them sit unused for years in my stash, I decided to use them for my October comfort quilt.  I was able to get five 8 inch squares from each.  I cut as many 8 inch squares as I could from the remaining fabric and then used the smaller pieces to make some patchwork blocks.  I was trying to be resourceful and I just LOVE the results!  I'm telling you that scrap quilts just make my heart sing.  I was only 4 blocks short so I cut into my red chevron to finish it off. 


The quilt finished at about 45 x 45.  I nice sized little boy quilt.  I machine quilted about 1/2 inch on either side of each seam.


 The back is pieced from a large strip trimmed off of Evan's backing and some large pieces of fabric that have been lingering in my stash for too long. I love a pieced backing.  I think it makes the quilt more fun.


I'm still working on my machine quilting,  I am a hand quilter by choice, but I am learning.

Finally, my red and white quilt.  The top was finished in January of this year and quilted this summer.  Sadly it has just been sitting and waiting on its binding.  This week the binding was completed and I have a finished quilt ready for Christmas/Valentine's Day.  She's a beauty. The linen gives it such a nice feel.


Look at those amazing dots on the back of this quilt.  You cannot go wrong with dots.  Ever.


I finished it with a bright red binding of course.

Three finishes in one week feels so good!

Have a great day!

Tracy

Thursday, October 22, 2015

Spools and Spools of Liberty Love


Oh my!  This quilt has been in my mind for about a year now when I saw it in Liberty Love by Alexia Marcelle Abegg.  I have been squirreling away pieces of Liberty fabric and other lawns and florals that I found.  I have also been tucking away little bits of whites and black/grey materials for the spools.  It has all been sitting in a basket just waiting.  Last night the pull was too strong to ignore and I decided to just make one spool to test out the measurement changes that I wanted to make in mine.  One spool lead to one block, which lead to five blocks. And well, I have a feeling that this is going to be one of those quilts that I just can't stop making until it is done.


This quilt appeals to everything I love about quilts.


The variety of prints, the scrappiness and the theme equal quilty perfection.


5 blocks down, 20 to go.

Thanks for stopping by!

Tracy

Tuesday, October 20, 2015

Farmer's Wife 1930s Sampler Quilt


Like most other quilters, I have a million UFOs and WIPs.  I have a "dream" list a mile long.  And, I have baggies of adorable fabric pulls just waiting to become quilts.  And yet, I can't stop joining quilt alongs.  My most recent is the 1930s version of the Farmer's Wife sampler quilt. I was going to resist this one, I really was.  After all, I JUST finished a sampler quilt and still have a few from the same book on my list.  But, the Farmer's Wife blocks are EVERYWHERE!  The blogs and Instagram are flooded with gorgeous pictures just taunting me to join in.  So, I've given in.


We have these gorgeous shot cottons at out LQS that I have just been drooling over.  So, I am starting with those and matching up some fabrics from my stash to go with them.  This should be bright and cheerful and happy to play with.


I decided to just follow the color schemes of each of Laurie's blocks.  I figured that if I did that, my colors would be nice and balanced at the end.  :) I pulled out some floral fabrics that I just knew that I wanted to use and found some blocks with the same color schemes and was ready to go.  At least I thought I was.  The instructions for the blocks are not actually laid out in the book.  The book comes with a CD that includes templates, paper piecing instructions and some rotary cutting instructions for the blocks that are easily cut.  So you need to decide how you plan on piecing each block.  The first 4 I chose really lent themselves to paper piecing as they were intricate and tiny.  These finish at just 6 inches each.  Here are my first 4 blocks.

#15 Blossom and #82 Pharlemia


They are gorgeous, and I love them and they are so acurate for blocks so tiny.  But, they took FOREVER! Worth it in the end I would say.

Next, I did #5 Anne and #19 Carolina


I figured out with Anne that the paper piecing templates are not reversed, so my blocks are coming out the reverse of what is pictured.  Not sure how to remedy that.  But, so far it doesn't really seem to matter as the blocks are pretty symmetrical.

The Carolina block was my first attempt at paper piecing y-seams.  I'm really pleased.

At this point I decided to join in and follow along with the quilt alongs.  There are 2 going on, so I am going to try and keep up with both.

Angie at gnomeangel.com is quilting along by skill level, starting with the easiest blocks.


GnomeAngel.com 


And Kerry at verykerryberry.blogspot.com is quilting along in numerical/alphabetical order.


verykerryberry 

They both started a few weeks ago, so I have some catching up to do.  I decided to catch up with Angie first because she started with the easiest blocks and that seemed a quick way to catch up.  

Here are those blocks:

#12 Becky and #16 Bonnie 
I used the rotary cutting instructions for both.  Super simple.


Next, #8 Aunt and #14 Betty
 More rotary cutting.


#20 Caroline and #13 Belle
I used some quilty math to figure out the hourglass sections of the Caroline block.
For Belle, some rotary cutting measurements were given, but I had to use a template for the 2 "house" shaped pieces.


#24 Coral and #78 Old Maid
The cutting instructions for Coral show HST instead of flying geese, but I used a little quilty math again to replace those with flying geese.
I paper-pieced Old Maid.

So, now I am all caught up with Angie and her crew.  Yay!

Next week, I will try to get caught up with Kerry.  They have sewn through block #12 this week and I already have 3 of those done.  Woo Hoo!!

Who else has gotten sucked into the Farmer's Wife?

Thanks for stopping by!

Tracy