Pages

Saturday, December 31, 2016

Rainbow Scrap Challenge 2016

I finished my last RSC quilt top on the very last day of the year.  Nothing like a self-imposed deadline to get you motivated!

At the beginning of 2016, I picked 4 different blocks to help me work through my stash of scraps.  And by the end of the year that stack of blocks was huge!


I spent most of December either preparing for or entertaining company.  Once everyone headed home on the 29th, I realized that I only had 2 1/2 days to turn that pile into 4 quilt tops.  Motivated by 3 weeks of not sewing and determinations I got to it.

I picked the easiest first.  I ended up with 38 birch tree blocks.  So I could take 2 out and make it a 6x6 layout or make 4 more to make it a 6x7 layout.  Since this one was smallish, I decided to make the extra blocks.  Luckily these don't take too long and this went together quickly.  So fun and colorful!  And a great way to use up those random solids and tiny little pieces that I can't bring myself to throw out.


Next up was my stack of wonky stars.  I had 37 blocks.  These blocks are pretty big and a little more time consuming to make since they are made from slabs of tiny scraps, so I quickly decided to leave one out and make it a 6x6 layout.  No sashing involved so it was another quick finish.


Next up was the medallion log cabins.  I had exactly 56 blocks, so 7x8 layout it was. Yay!  I had fun playing with the layout.  And it went together quickly since again there was no sashing. So much fun to look at all the different fabrics.


And finally, my Geese Migration quilt.  I saved this one for last, since it might take a little longer to put it together.   But once I cut the sashing and triangles it went together very quickly - just 7 diagonal rows.  Don't tell the others, but I think this one is my favorite.  :)


Hopefully they will all be quilted by the end of 2017.

I can't wait to see what the new year brings.  My mind is already coming up with ideas for RSC 2017.  See you next year!!

Tracy

Visit me on Instagram @tracysbitsnpieces

Saturday, July 2, 2016

My turn to be Queen Bee!

I joined Stash Bee this year and have had so much fun making blocks for all of my bee mates.  And now it is my turn!  July is my turn to be Queen Bee, which means I get to pick out a block for my beemates to make for me. 

Here is what I picked, along with a quick tutorial.  If you decide to play along, I'd love to see what you make.  Tag me on Instagram @tracysbitsnpieces

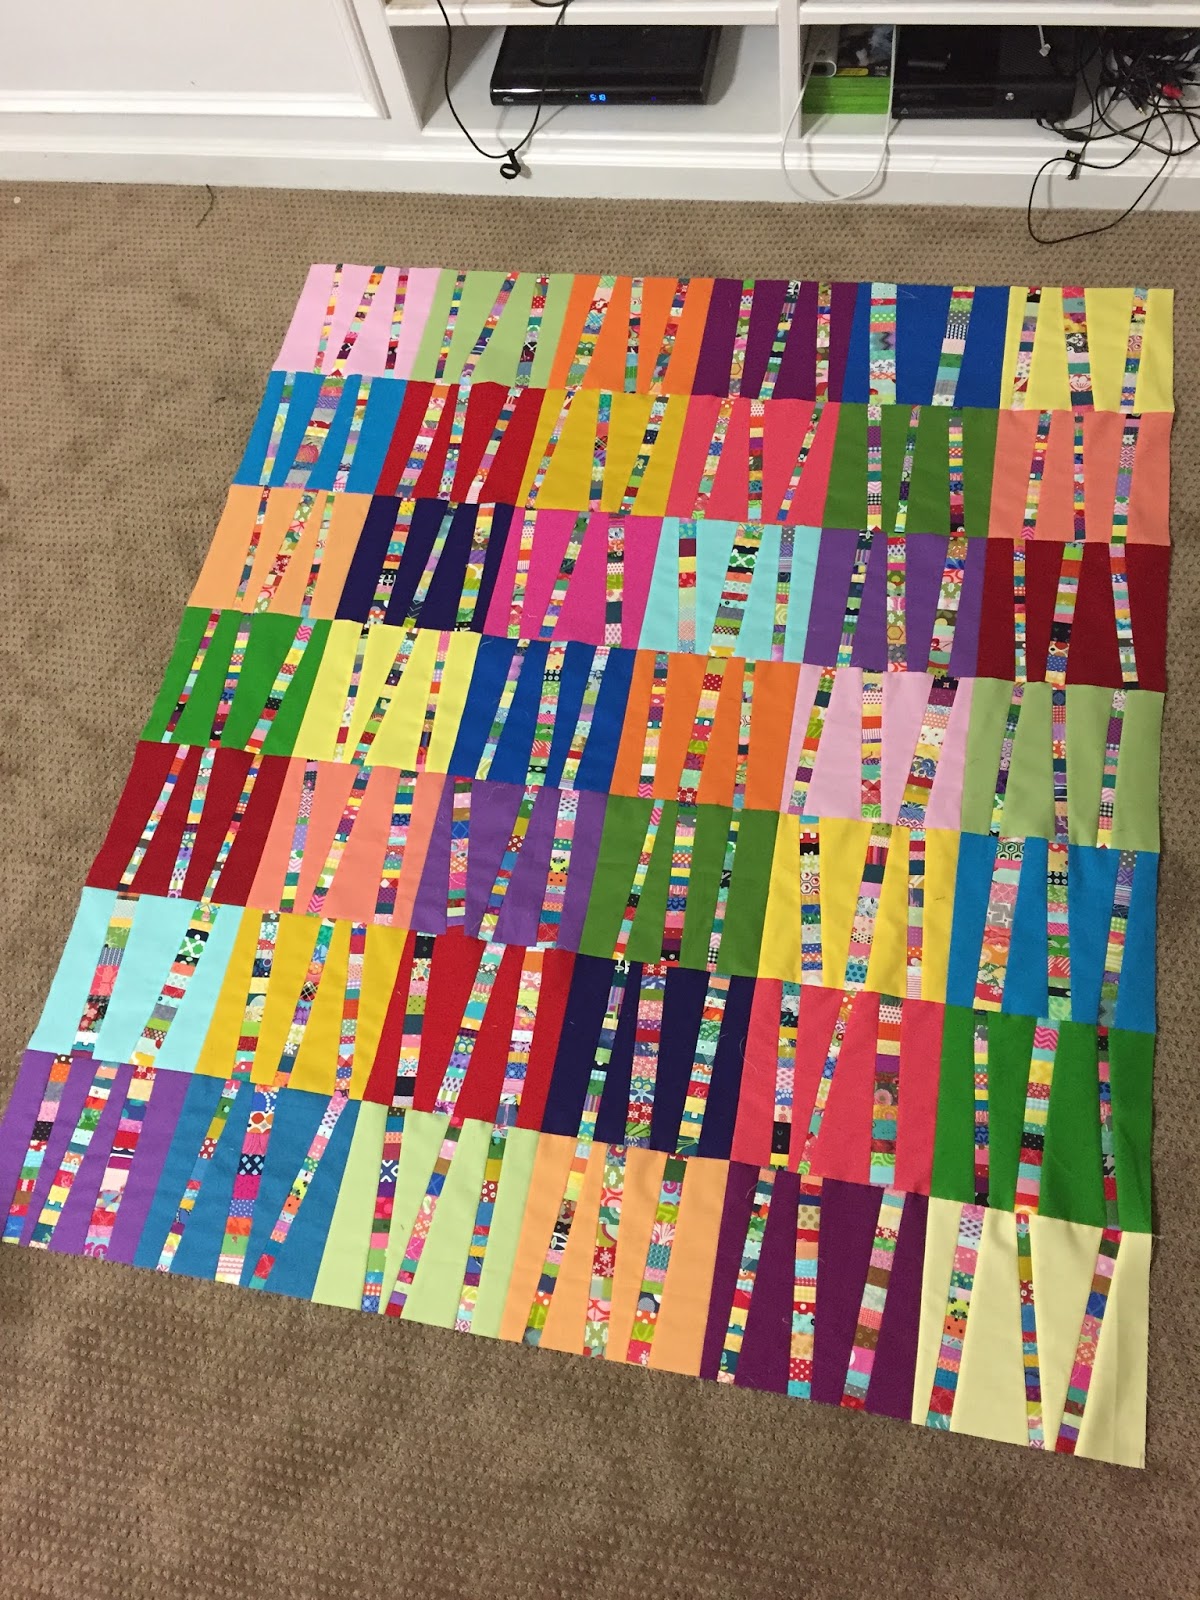
July block for Hive 6


Hi Quilty Friends!!
I am so excited to have my turn at being Queen Bee! This is my first time in a bee and I have had such fun making blocks for all of you.  I can't wait to see the quilts you make from these blocks.
I LOVE scrappy quilts and fun fabrics.  And I couldn't decide if I wanted my blocks to be really scrappy or a fun way to show off what fabrics my beemates had hidden in their stashes.  So, I decided to do both.  
I will be making a spool quilt using a combination of string blocks and novelty prints.  I love spool blocks; they are quick to make and are a great way to show off fun fabric.  Each block contains 4 spools.  I would like you to include at least 1 novelty print and at least 1 string block in your block.  So that means you could have...
1 novelty spool and 3 string spools...
 2 novelty and 2 strings...

OR 3 novelty and 1 string.

Pick whatever suits your stash and mood best.

Now, let's talk fabrics.

Background:
I am using white on white. (Please no colors on the whites)  Use as many different fabrics as you like, the scrappier the better.  This is a great way to use up those little odds and ends you've got lying around.  If you only have 1 or 2, that's okay too.  Use what you have.

Spool tops and bottoms:
Please use blacks and greys.  Again, scrappier is better.  I'd love for you to use 4 different fabrics, but if you only own 2 different blacks or greys, that is okay.  Don't stress, this should be fun.  And I want this block to represent YOU!!

Spool centers:
Fun, novelty prints!! Pretty much anything goes, use what makes you happy - unicorns, pirates, mermaids, fruit, flowers, animals... The only thing I ask not to be included would be licensed characters like Elmo and Disney princesses etc...

And of course, happy, scrappy strings.


Let's get started!

For the entire block you will need to cut the following:

Background:
(8) 2" x 5"
(16) 2" squares
(2) 1 1/2 "x 8"
(1) 1 1/2" x 16 1/2"

Spool tops and bottoms:
4 pairs of  2" x 8"

Spool centers:
(1-3) 5" squares of fun novelty fabric
A variety of strings

Let's start with the novelty spool.

You will need:
(1) novelty 5" square
(2) background 2"x 5"
(2) spool 2" x 8"
(4) background 2" squares


 Draw a diagonal line on the back of 4 background squares.

On both ends of your spool pieces, sew on your marked line, trim 1/4" from the edge of your sewn line and trim.  Press towards the white.  Pay attention to the direction that you sew your squares on, so that your spool is shaped correctly.

Now, sew your background rectangles to either side of your novelty print, pressing towards the white.  Sew the top and bottom pieces on and you are done!

Ta-Da!  Easy peasy!

Now, to make the string block.

Gather your little string bits together.  I have lots of pink, so I am going to start with that.

Pull strings that are about 1-2 inches wide. (Don't worry if they aren't straight, it adds to the character) and trim them to about 5 1/2" in length. I got excited and forgot to take a picture of my strings laid out at this point.
Now, sew them all together (Hint:put your thickest strings on the top and bottom to make trimming easier).  Don't worry about sewing perfectly straight lines, thread is messy after all!

Trim it to 5" square.

Now, you can build your spool just like we did with the novelty fabric.


Perfect!

Build 2 more spools of your choice, for a total of 4.

To put your 4 spools together you will need that last few background pieces.

(2) 1 1/2" x 8" and (1) 1 1/2" x 16 1/2"


Sew together as shown in the picture.

That's it!!

I can't wait to see your block!  Thank you for digging into your stash and sharing some of your time and effort with me.  Please let me know if you have any questions!!

Wednesday, May 11, 2016

Spooky Delights Table Runner

Two table runners in one week!  And I don't usually make table runners.  But I have to say this could be addictive.  They are so quick and satisfying!!

This table runner is made from a FREE pattern on The Fat Quarter Shop's blog.  It is called Spooky Delights.  It was so quick and turned out so cute!  It was a perfect way for me to practice some new quilting too.


I have been admiring this wavy quilting on many quilting blogs lately and decided it was time to give it a try.

It seemed to be going well as I was quilting, but when I took the first half out to take a look, I was a little disappointed in the results.  I was quilting in a back and forth motion. Down one side, turn, and quilt the other way.  See how wavy the seams look? Blah.


So, I decided to try going in only one direction on the second half.  Much better!  Lesson learned. I'm glad to have learned this lesson on a table runner as opposed to an entire quilt!


Backed with this adorable black cat fabric and bound with a black on black dot.


Thanks for stopping by!

Tracy

Monday, May 9, 2016

American Flag Table Runner - a tutorial

Summer is almost here!

We are counting down the last few days of school over here, and I am not sure who is more anxious for summer.  I am so ready to sleep in a little.  Getting up before 6 to make breakfast and pack lunches is getting old.  Sunshine and lazy mornings are calling my name.

To celebrate, I have made a happy little table runner combining some of my favorite things; patchwork, scrappy fabrics and hand quilting. Yay!


This little runner finishes at 17 1/2 x 47 1/2 inches.  It is based on a fabulous vintage quilt I pinned years ago on Pinterest.

 Vintage flag quilt!:

That quilt has been on my mind ever since.  I'm still really hoping to make an entire quilt of patchwork flags, but in the meantime I am going to enjoy this runner.

I used both machine quilting (around the flags) and big-stitch hand quilting (inside the flags) and just love the character the combination gives.


Here is a close up of a single flag.


I just love a striped binding.


If you would like to make your own version, here is a quick tutorial:


Fabric needed:
Blue: total of ¼ yard
Red: total of 1/3 yard
White: total of ¼ yard
Sashing: 1/3 yard
Backing: 1 ½ yards (If you want one single cut)
Binding: 1/3 yard
1.  For each flag cut:
·         (1) 6 ½ inch square of blue
·         (2) 2 ½ x 8 ½ inch red
·         (1) 2 ½ x 14 ½ inch red
·         (1) 2 ½ x 8 ½ inch white
·         (1) 2 ½ x 14 ½ inch white
2. Sew together according to diagram.  Make 4.
3. From sashing material cut five 2 x 14 ½ inch strips.
       Sew them to flags as seen in diagram.
4. For outside borders, sew three 2 inch x WOF strips together end to end.
 Cut them into two pieces 2 x 47 ½ inch strips. 
Sew to either side of the table runner.
5. Add a backing, quilt and bind. 
6. Enjoy!!  


If you decide to make your own version, please let me know!  I'd love to see what you make.  You can tag me on instagram @tracysbitsnpieces

Thanks for stopping by!!

Tracy

Linking up to Sew Fresh Quilts and She Can Quilt.

Wednesday, April 20, 2016

String Quilts, they never get old


I ALWAYS have strings hanging around at my house.  You know, those thin little scraps you trim off of a finished quilt, or the end of a strip you are cutting for another project. I even have a cute little basket to collect them in.  It is always running over.  Here is a real life picture of it.


  I love this basket, so many possibilities...

About a year ago, I was working on a bright and happy string quilt for myself. I thought it would be anything goes, but as I started to play I realized that I didn't want to include any pastels, browns or primary novelties and not too much orange or purple.

As I pulled out those strings, I sorted them and made a couple of piles to use later, pastels, primary/boy themed and brown/orange and blues.  I just stuck them in ziplocs and every once in a while when I had a bunch I would take them out and sew a few string blocks.  A few weeks ago, I realized that I had enough to whip up a few little comfort quilts.

One from the brown, orange and blue strings.


Look closely and you will find cowboys, whales, boats, mice, airplanes and more.

I quilted it with some simple straight-ish lines.


I had a little oops while quilting and popped a seam.  No problem, I appliqued a little boat from the fabric I used on the back.  Problem solved and made even cuter.


And the sweet backing fabric.


Quilt number 2 from the primary and boy novelty fabrics.


Superheros, Star Wars, trucks, dinosaurs, baseballs, bugs....  So much to find in this quilt!

A very kind new longarmer wanted to try out her new machine and offered to quilt a few quilts for free, so I jumped at the offer!  She did a great job.   She even copied the pattern from the backing fabric in the sashing of the quilt.  So cute.


And here is the back of the quilt.


These are my April comfort quilts.  I am super excited to donate these because I know that boy quilts are harder to come by.  Girl fabrics are just so much more abundant.

Thanks for stopping by!!

Tracy

Wednesday, April 6, 2016

The Stars and Planets Aligned... and a Scrap Quilt GetsFinished

Finally!!

A dry, sunny day when 2 of my quilt holders were home.  Yay!  Time to drag out some recent finishes and take some pictures.


First up is a sweet little quilt top I finished today.

This little string quilt has been in the works for a while,  Every once in a while when the strings called, I pulled out the pastel ones and made a few blocks.  They called again today.  When I realized I just needed 2 more blocks to make a decent sized little quilt, I decided to finish it up.


I had just enough of this little rose fabric to border it.  With the border the quilt measures 45 x 57.


So soft and sweet.  I have been working on this one with the intention of donating it to our local foster care system.  It will be a tough one to give away.  I will just have to picture some sweet little girl hugging it tight.  Scrappy quilts really are the best!


Next up is my scrappy purple tulip quilt.  I used all the purples.  Every shade.  If it was purple, it went in.  And the background fabrics are scrappy too, lots of different low volume prints playing together in there.


The pattern is a free Cloud 9 pattern found on their website.  It is called the Amsterdam Quilt. I can definitely see myself making this one again, the blocks go together easily and are a great use of scraps.

I am tempted to hand quilt this one, I think that is what it wants.  I will be setting it aside for a while to see if that feeling sticks. :)


Next up is my scrappy bear paw quilt.  It just needed that final border and I got that on this morning.  This is such a bright fun scrappy quilt.  Anything went with these scraps as long as they were bright and colorful.  I used a brown background which is a new thing for me, but I really like it.  It allows the scraps to just pop.


This one is pretty big at about 92x94.  I really, really like scraps.  Can you tell?


And finally, a real finish.  I just got my Star BOTM back from being quilted by Cyndi at The Dancing Bobbin.  Since all of the colors I used were based on the amazing butterfly fabric featured in a couple of the stars as well as the backing fabric, I thought it only appropriate that it be quilted with butterflies.  And I just LOVE it!  Thank you Cyndi!


I mean seriously, is this fabric not AMAZING!!!  I just love it.  And yes, I did save every single tiny piece that was trimmed off.  It will find its way into many more scrap quilts.


Thanks for stopping by for some show and tell!!

Tracy

Linking up to Crazy Mom Quilts.